Repair Water Damage Right: Step-by-Step Restoration Tips
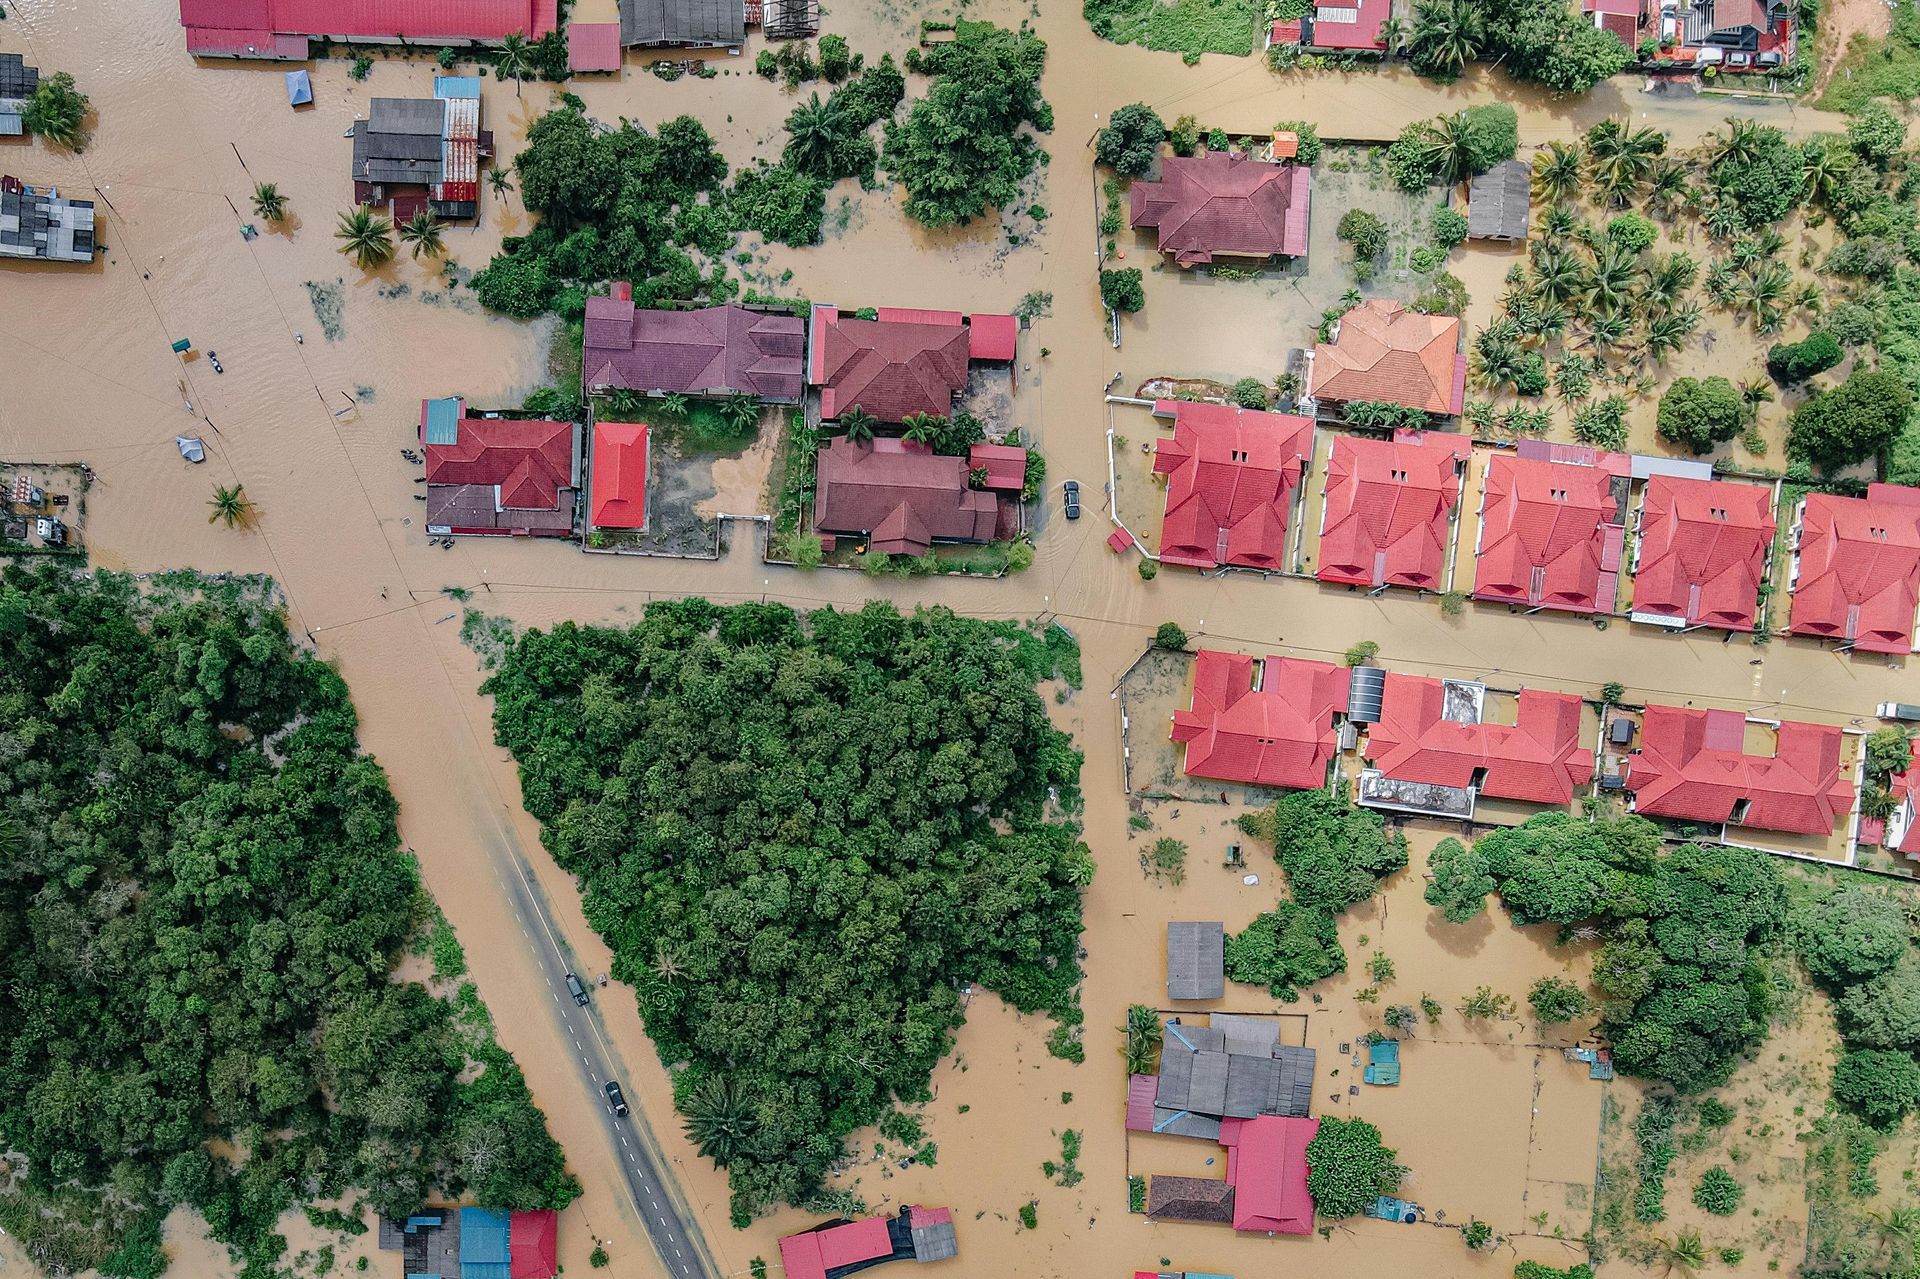
Water damage can destroy your home and belongings within hours. Walls, floors, and furniture quickly absorb moisture, and if left untreated for even 24 to 48 hours, the risk of mold growth and structural deterioration becomes severe.
Quick action is the only way to reduce damage and repair costs. This guide will give you a clear process for handling water damage, from emergency response through full restoration, so you can protect your property and return it to safe, livable condition.
Takeaways
- Water damage spreads fast, so stopping the water source and ensuring safety should be your first moves.
- Check for electrical risks and structural damage before entering to keep everyone safe.
- Document all damage with photos and videos to help with insurance claims.
- Drying out your home quickly is key to stopping mold and further damage; fans, dehumidifiers, and good airflow help a lot.
- Professional help is worth it for big or hazardous problems, but small clean water issues might be manageable with DIY methods.
Immediate Steps for Water Damage Emergency Response
Acting quickly during a water damage emergency keeps your home safer and reduces financial loss. Follow these steps for the best results.
1. Safety First: Assessing Risks Before Entry
Never enter a water-damaged area until these hazards are checked. Taking proper safety steps protects everyone from serious injury before entering a flooded or wet area.
- Electrical hazard check. Shut off all power to affected areas at the main electrical panel. Wet wiring and outlets can cause electrocution or fire, so avoid contact until a professional confirms the space is safe.
- Structural stability review. Look for sagging ceilings, warped floors, and cracked walls. If building materials seem weak or might collapse, stay out and call experts for inspection.
- Contaminated water assessment. Floodwater or sewage carries bacteria and chemicals. Identify whether water is clean, gray, or black, and wear protective gear in all suspected contaminated areas.
- Safe entry decision. If risks are present, evacuate immediately and call a licensed water damage restoration professional. Never enter if unsure about electrical or structural safety.
2. Stop the Water Source
Stopping the flow of water quickly limits further damage and helps control the situation.
- Locate and shut off the main water valve. This valve is usually near your water meter or where the main supply enters your home. Closing it immediately stops incoming water and prevents more flooding.
- Manage burst pipes and leaks. Use plumber’s tape or pipe clamps for temporary repairs on broken pipes. Place buckets under leaks to catch water and minimize spread until professional help arrives.
- Address appliance leaks. Shut off water supply lines to leaking appliances like dishwashers or washing machines. Disconnecting power is also important to avoid electrical hazards.
- Limit roof or external water entry. Use tarps, sandbags, or plastic sheeting to cover damaged roofing areas and block water entry points during heavy rain or storms.
3. Document Everything for Insurance
Accurate documentation is crucial for successful insurance claims and repair planning.
- Photograph all damage thoroughly. Capture wide-angle shots of entire rooms and close-ups of damaged materials, furniture, and personal items. Include photos of the water source and high-water marks on walls.
- Record videos to show the extent of damage. Videos provide additional context and demonstrate areas affected that may not be obvious through photos alone. Use good lighting for clear footage.
- Make an inventory of damaged items. List each item with descriptions, approximate value, and purchase dates if possible. Keep receipts or proof of ownership to support claims.
- Save all communications and receipts. Document all contact with contractors, professionals, and insurance representatives. Keep records of repair estimates, invoices, and emergency expenses.
Water Damage Assessment and Classification
Knowing the type and scale of water damage is essential to plan effective repairs and ensure proper safety measures.
Water damage falls into three categories depending on contamination levels:
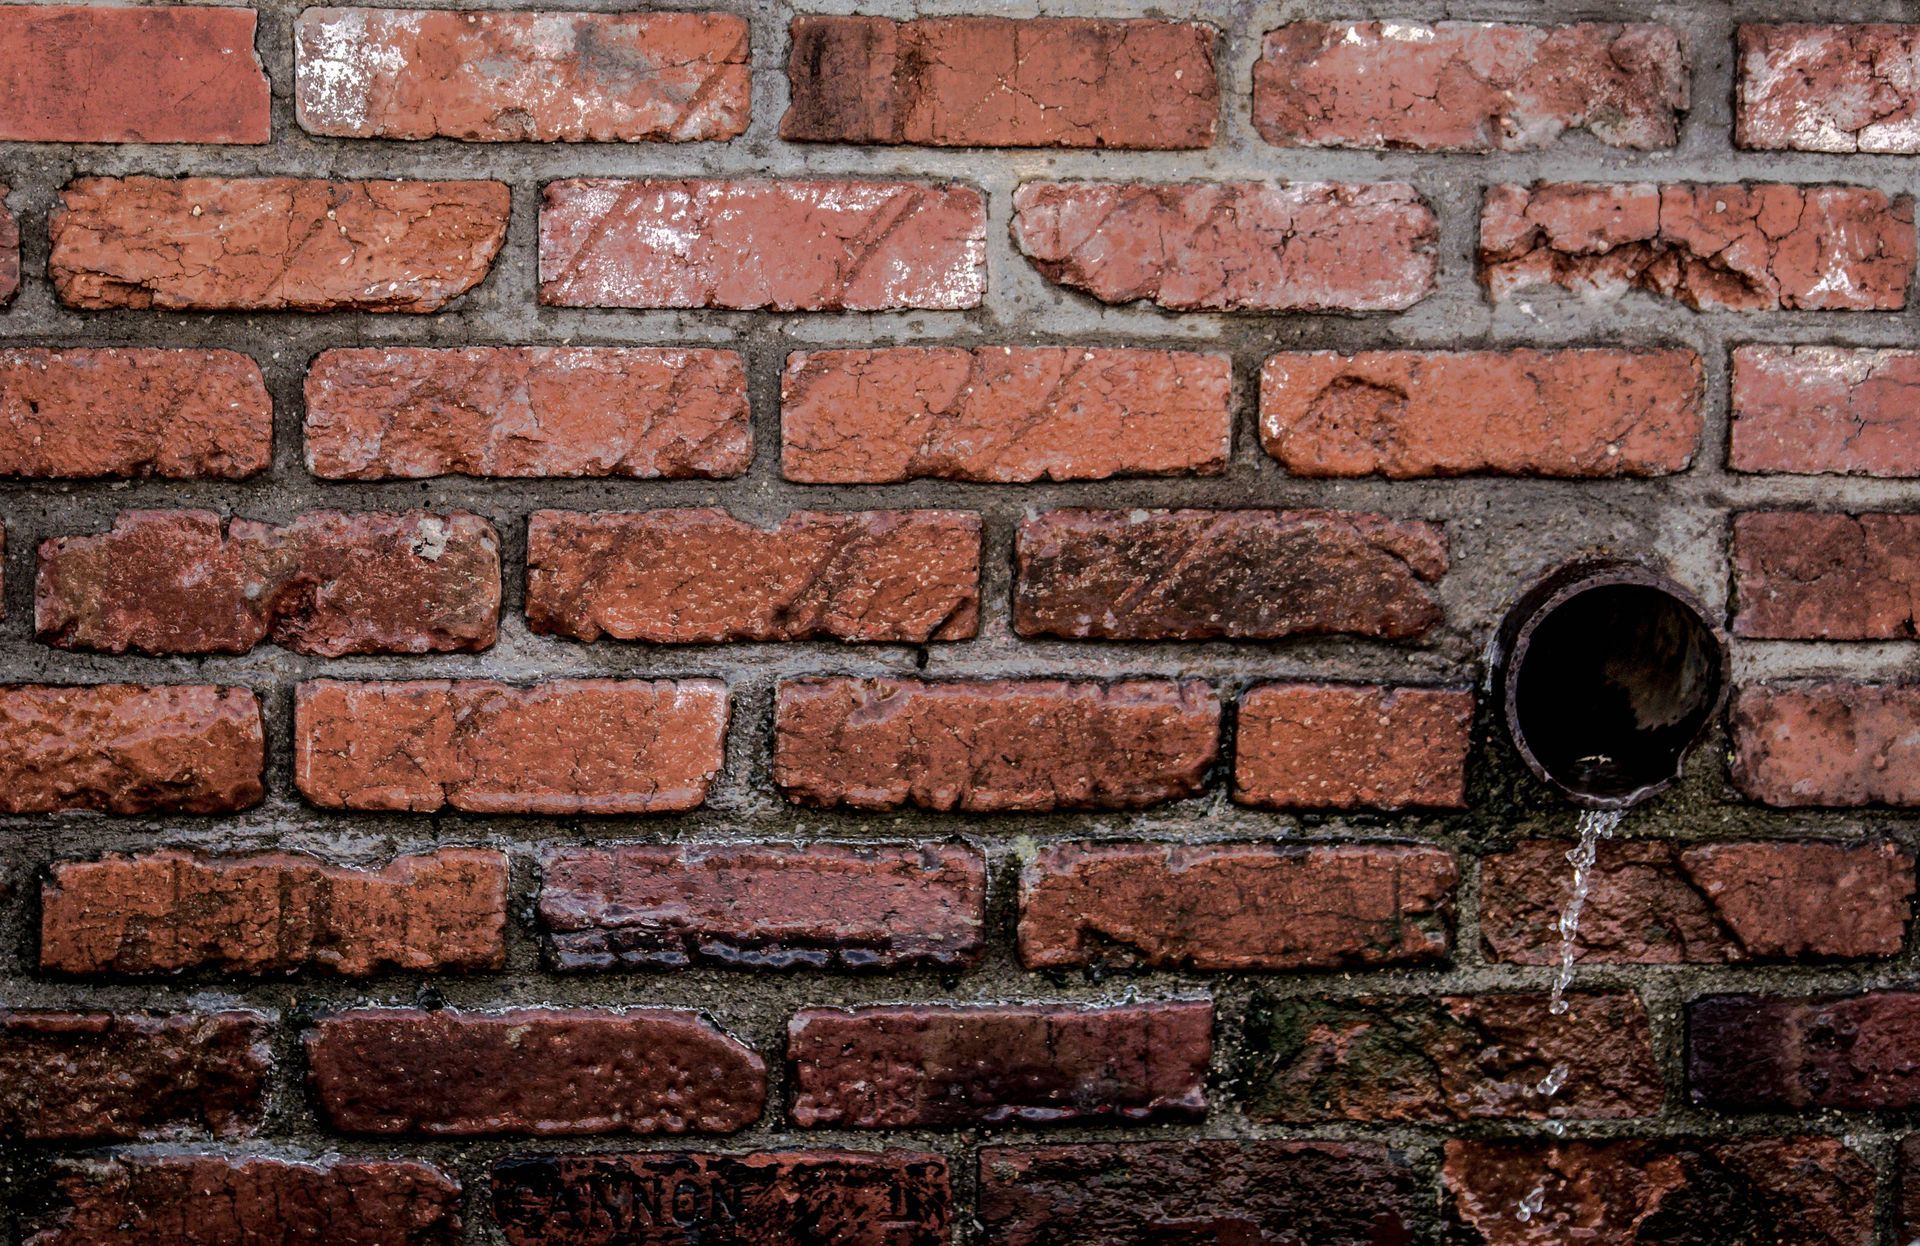
- Category 1: Clean Water. This damage involves water from sanitary sources like broken supply lines or rainwater. It is the least hazardous and usually allows for more straightforward cleanup.
- Category 2: Gray Water. This water has contaminants that can cause illness, such as dishwasher leaks or toilet overflow containing urine. It requires specialized cleaning and disinfection.
- Category 3: Black Water. This type includes highly contaminated water like sewage or floodwater carrying pathogens and chemicals. It demands professional remediation with appropriate safety equipment.
Here’s a table to summarize the three main categories of water damage based on contamination levels:
| Category | Description | Examples | Safety and Restoration Requirements |
|---|---|---|---|
| Category 1: Clean Water | Water from a sanitary source without harmful contaminants. | Broken water supply lines, rainwater, toilet tanks without contaminants. | Minimal health risk; affected materials can often be dried and salvaged with standard cleaning. |
| Category 2: Gray Water | Water with significant contamination that may cause discomfort or illness. | Dishwasher leaks, washing machine discharge, toilet overflow with urine. | Requires disinfection and removal of porous materials; protective gear recommended during cleanup. |
| Category 3: Black Water | Grossly contaminated water with pathogens and chemicals. | Sewage, floodwater, backed-up toilets, stagnant water. | High health risk; needs professional remediation with strict safety protocols and protective equipment. |
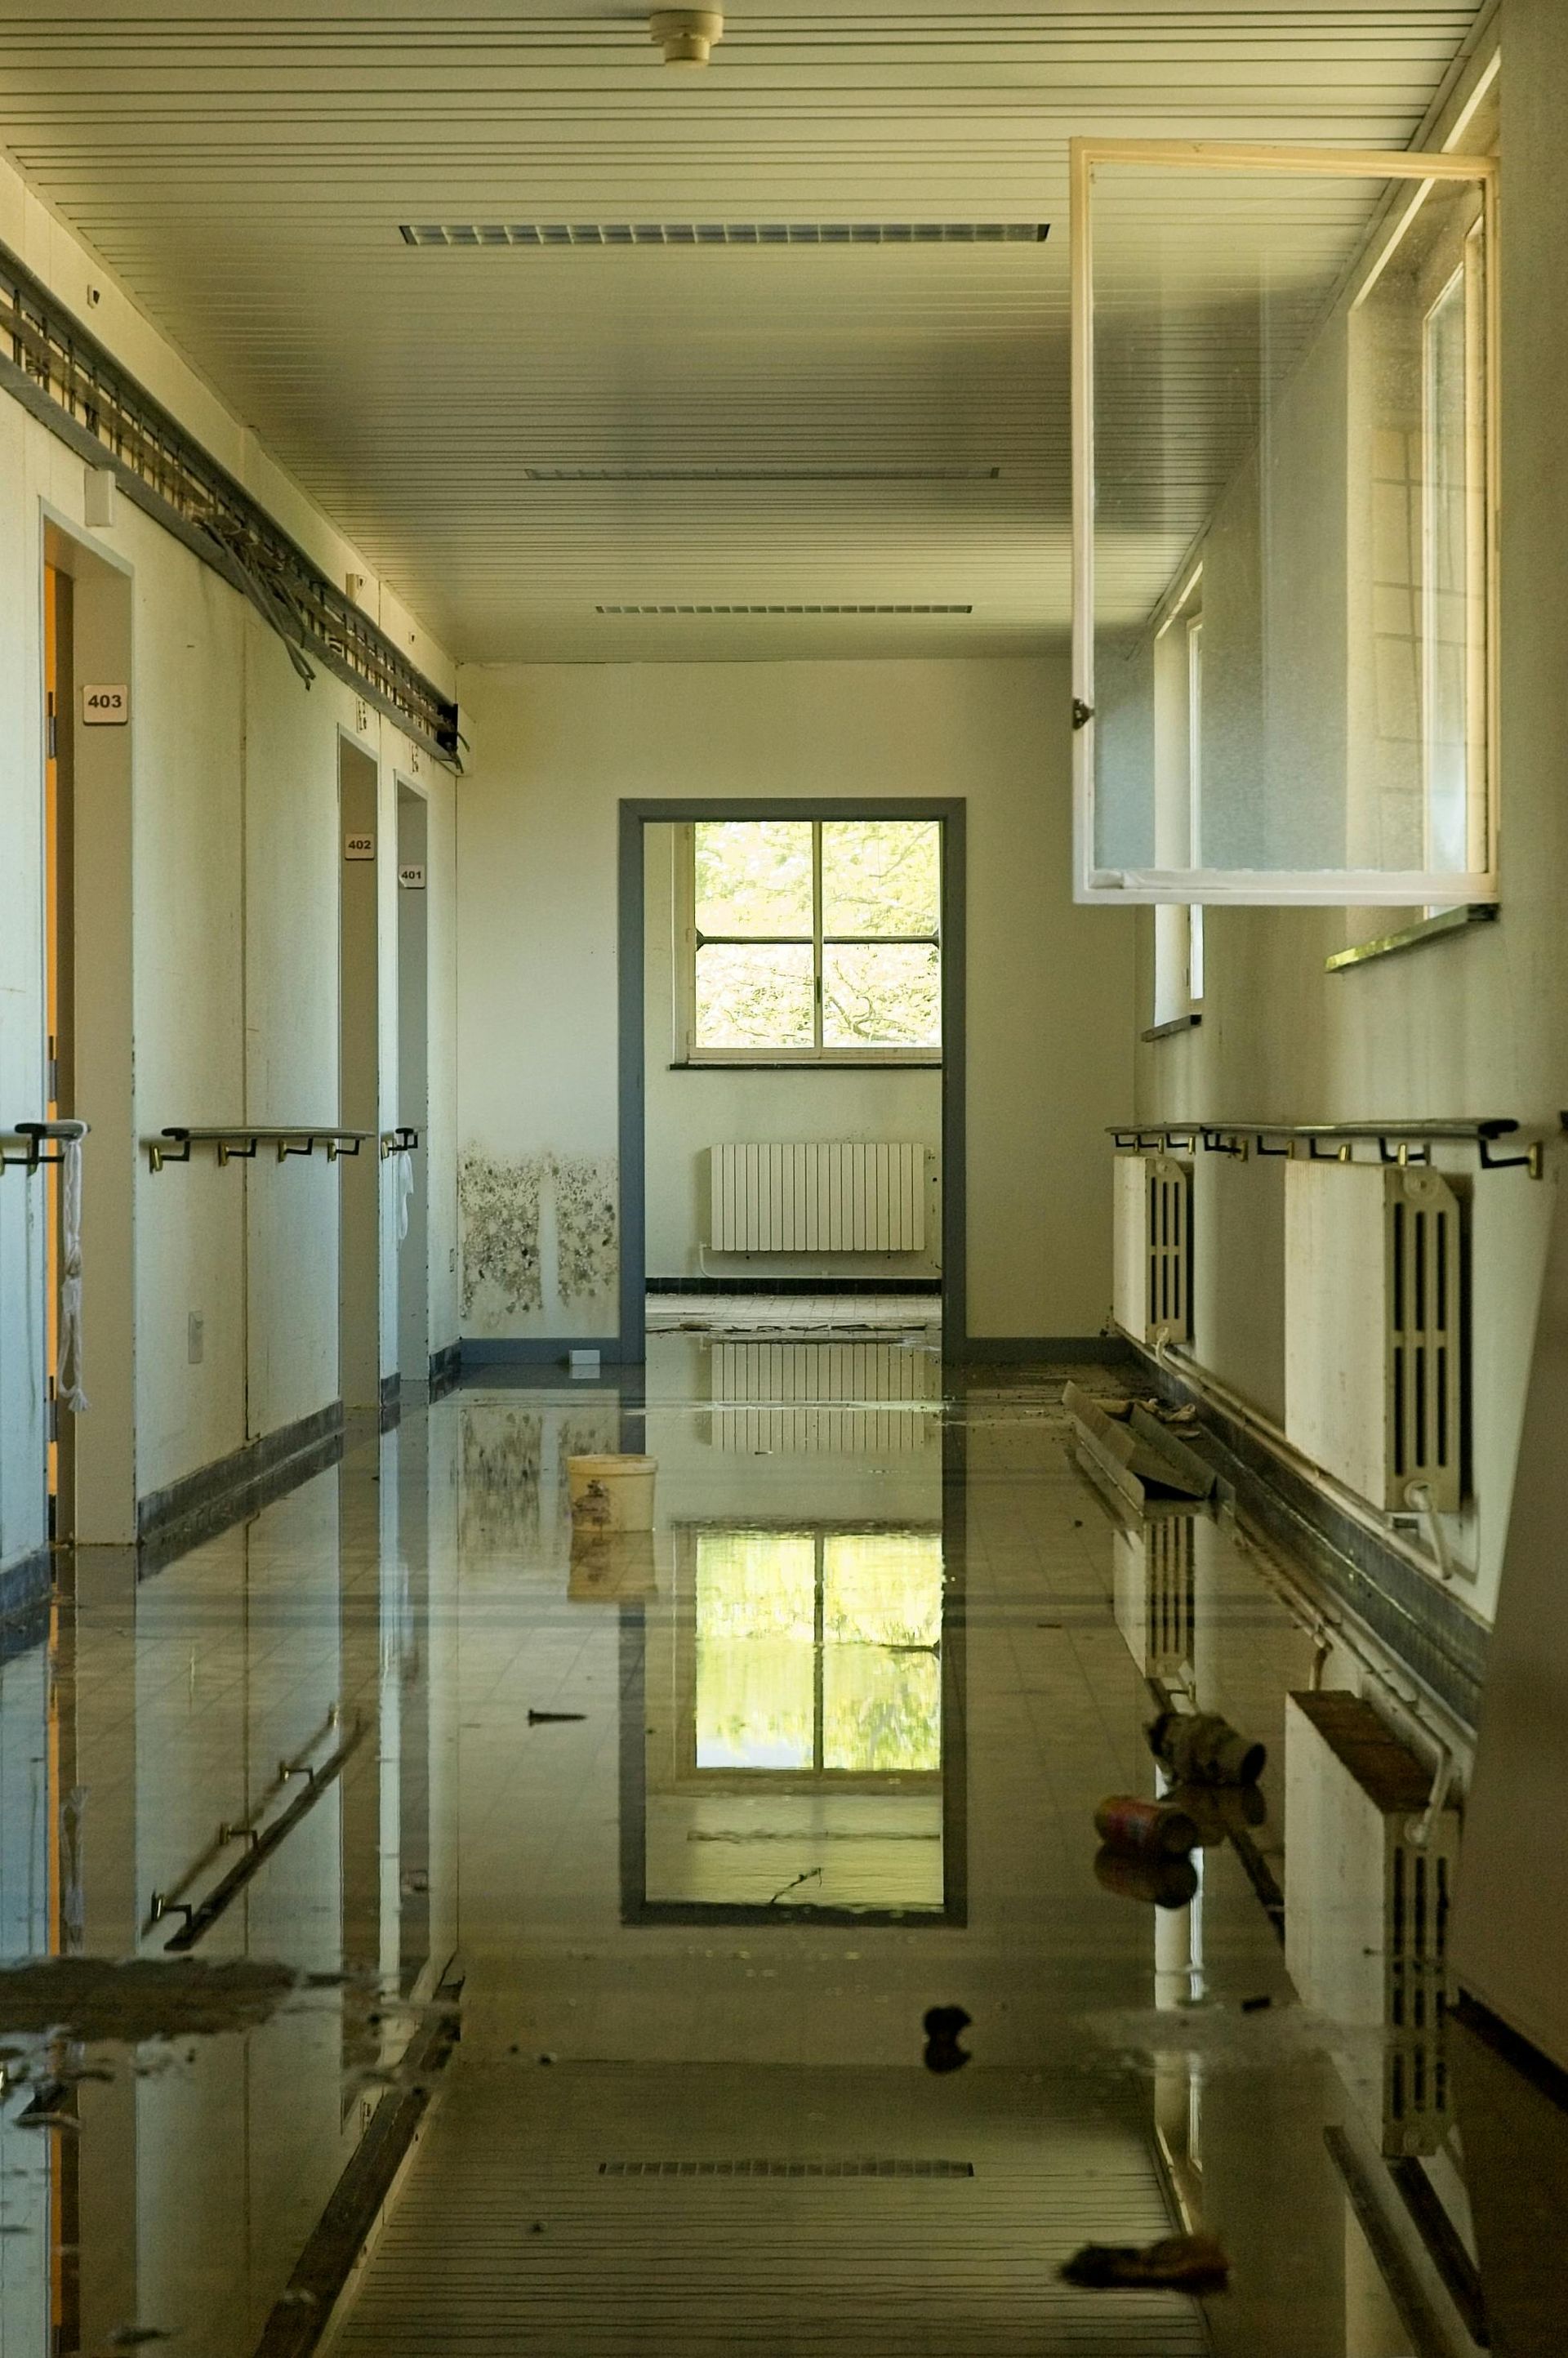
Assessing Damage Extent
Evaluating the damage requires thorough inspection of visible and hidden areas:
- Visual inspection focuses on checking for stains, swelling, or warping in walls, floors, ceilings, and fixtures.
- Using moisture meters and thermal imaging uncovers moisture trapped behind walls or under flooring that might otherwise go unnoticed.
- Signs of structural damage like sagging materials or crumbling surfaces indicate a need for professional assessment and repair.
Water Extraction and Drying Process
Removing water and thoroughly drying wet areas must happen quickly to limit damage and prevent mold. Effective drying targets moisture in all materials, including hidden spaces that retain water after visible areas appear dry.
DIY Water Removal Techniques
Successful water removal reduces immediate damage and speeds overall restoration. Using the right tools ensures you remove as much water as possible before drying begins.
- Pumps and wet/dry vacuums. High-capacity pumps extract large volumes of water rapidly, while wet/dry vacuums are suitable for smaller water pockets and hard-to-reach places.
- Buckets and mops. For minor leaks or small spills, buckets help catch water and mops clear remaining moisture.
- Assess DIY limits. DIY water extraction works well for clean water and limited flooding but might be insufficient for contaminated water or major flooding requiring professional equipment.
Proper Drying and Dehumidification
Drying is a complex balance of removing moisture from wet surfaces, circulating air, and managing humidity levels to prevent mold and structural damage.
- Fans and dehumidifiers. Air movers boost evaporation by circulating dry air, while industrial dehumidifiers extract water vapor from the environment, maintaining ideal moisture levels.
- Ventilation. Opening doors and windows, if weather conditions allow, boosts airflow and aids drying.
- Humidity monitoring. Use moisture meters and hygrometers to measure how quickly materials dry and adjust equipment positioning based on drying progress.
- Drying timeline. Material type and saturation levels affect drying time. For example, drywall usually takes 3-5 days, whereas hardwood floors may need 7-10 days.
Creating Airflow Patterns
Optimizing airflow speeds drying by directing moisture-laden air away from wet surfaces and exposing hidden areas.
- Strategic fan placement. Position fans to maximize airflow along damp walls, floors, and ceilings and drive moisture towards dehumidifiers.
- Wall and insulation access. Sometimes sections of walls or insulation need to be removed to allow air to reach trapped moisture inside cavities and behind drywall.
This thorough approach to water extraction and drying prevents long-term damage and mold growth, setting the stage for successful restoration.
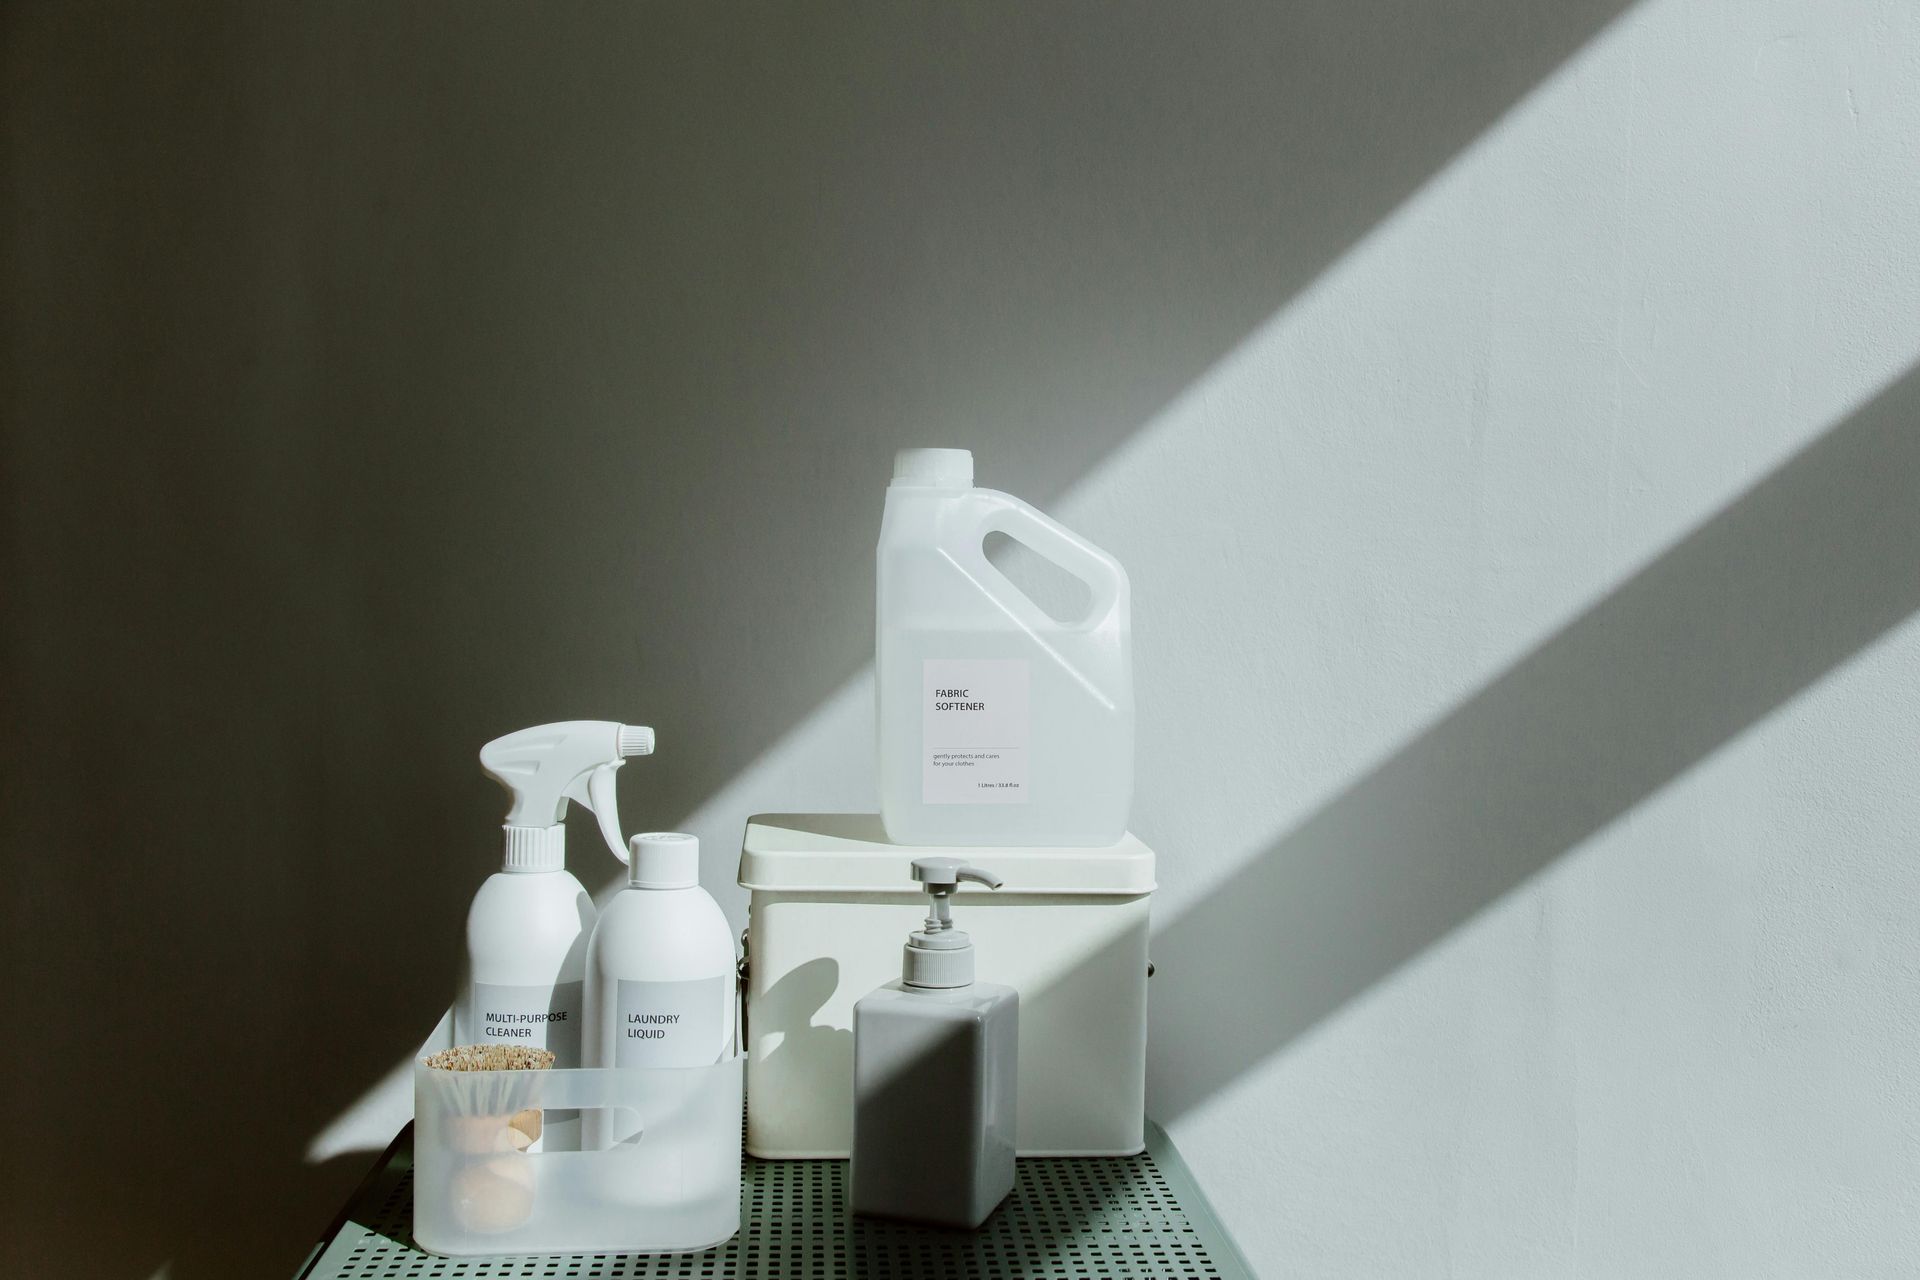
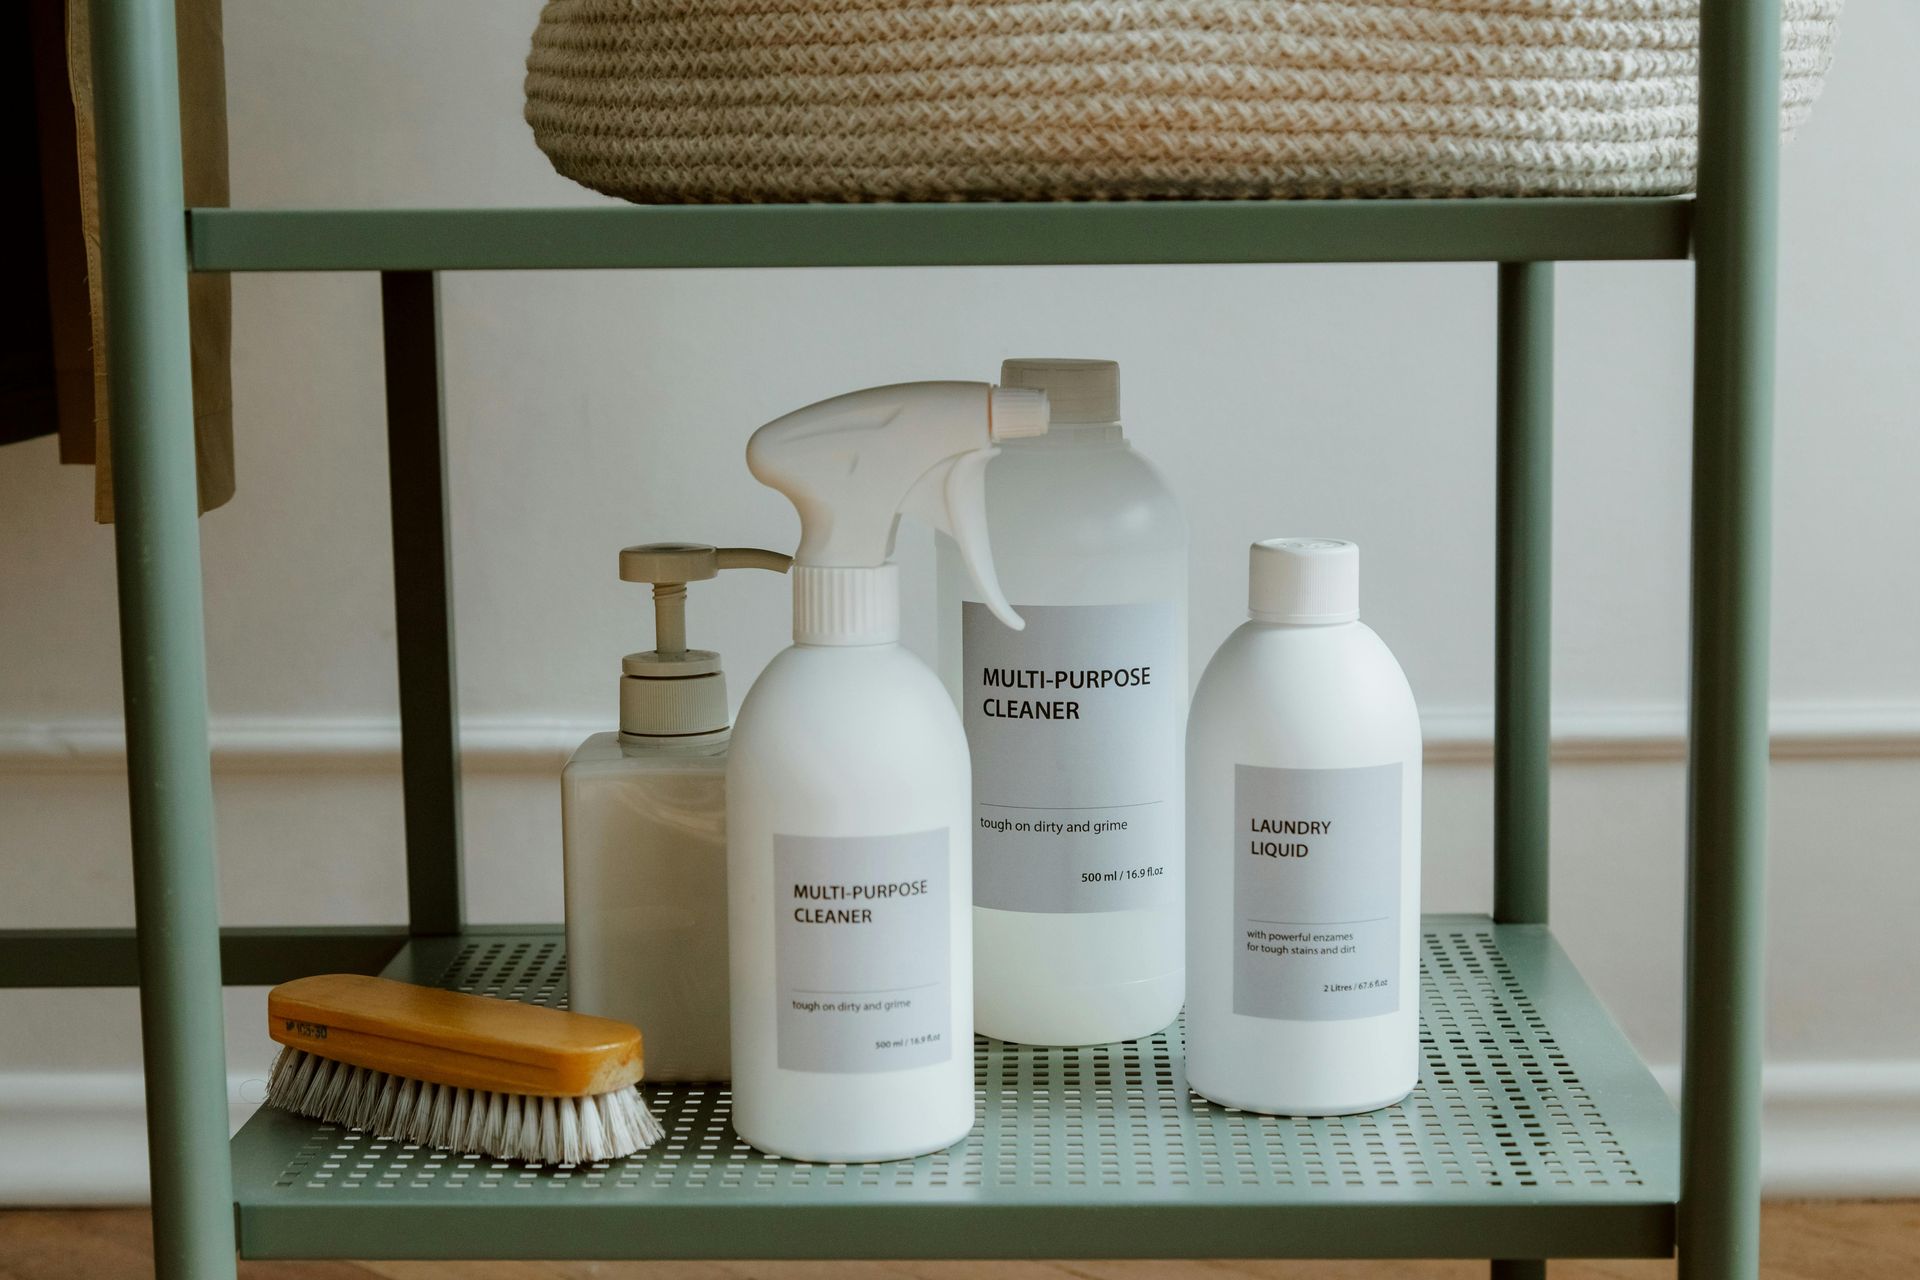
Cleaning and Sanitizing After Water Damage
Cleaning and sanitizing after water damage are crucial to restore a safe environment and prevent health hazards. Proper cleaning removes dirt, debris, and contaminants left behind by the water, while sanitizing kills bacteria, mold spores, and other pathogens that could spread illness or cause long-term damage.
Disinfection Protocols by Water Category
Different types of water damage require tailored cleaning and disinfecting approaches based on contamination level.
- Clean water (Category 1). Surfaces can be cleaned with detergent and water, followed by sanitizing with a mild disinfectant to remove any residual bacteria.
- Gray water (Category 2). More rigorous cleaning with stronger disinfectants is necessary. Porous materials contaminated with gray water often require removal or professional cleaning.
- Black water (Category 3). Extensive disinfection using industrial-grade biocides is required. This type of contamination demands professional cleaning and may require disposal of affected porous items to eliminate pathogens safely.
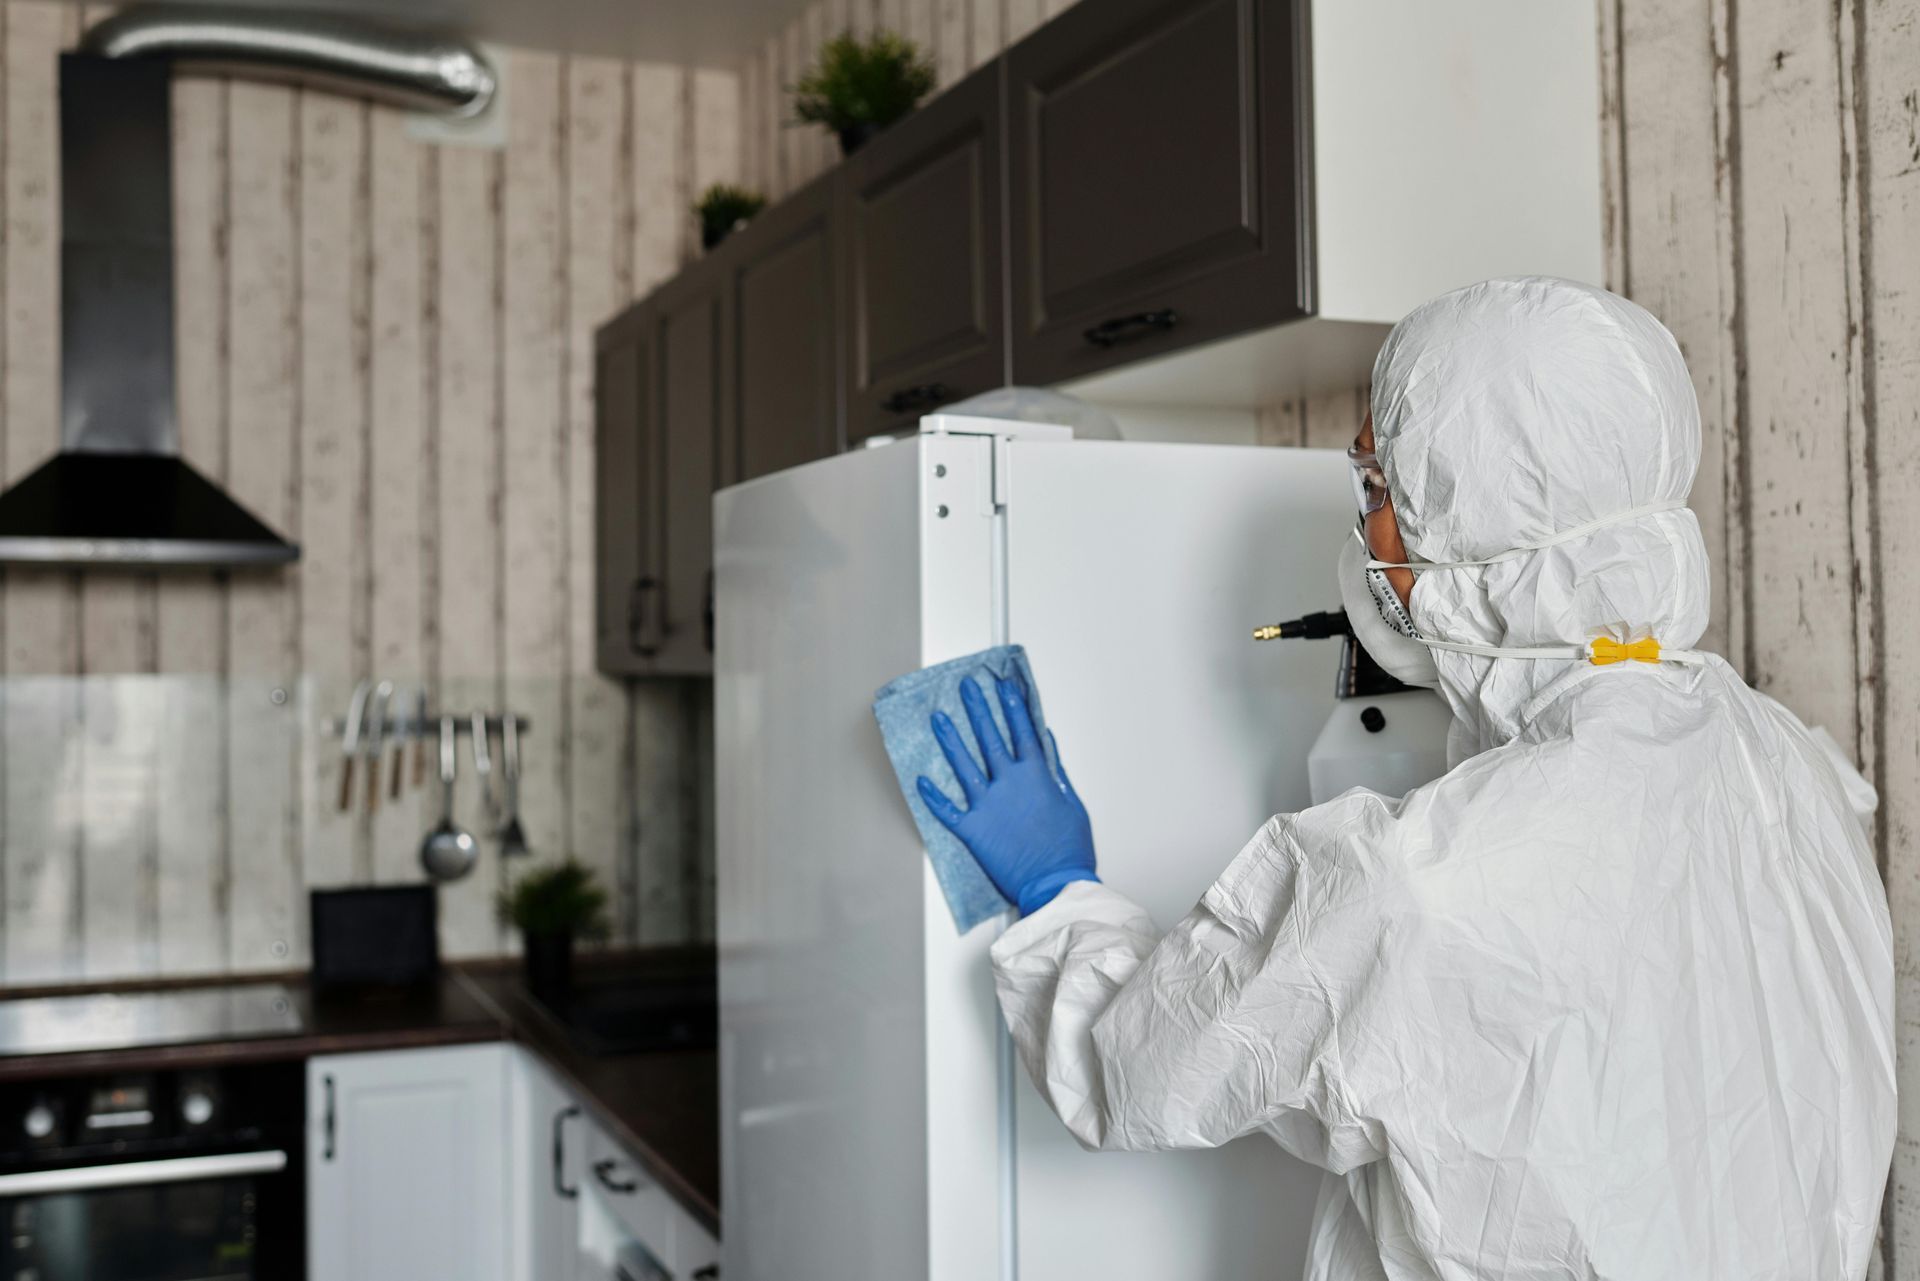
Personal Protective Equipment Requirements
Cleaning contaminated or mold-affected areas demands proper protective equipment to avoid exposure to harmful substances.
- Wear long sleeves, gloves, eye protection, and boots to prevent skin contact.
- Use respirators or masks when dealing with mold or chemical disinfectants.
- Ensure good ventilation during cleaning when using strong cleaning agents.
Salvaging vs. Replacing Damaged Items
Deciding whether to save or discard water-damaged belongings depends on contamination level and item type.
- Non-porous items like metal, glass, and plastic can often be cleaned and restored.
- Porous items such as carpets, drywall, and upholstered furniture usually require replacement if contaminated with gray or black water.
- Valuable or sentimental items may benefit from professional restoration services that specialize in electronics, documents, or antiques.
Effective cleaning and sanitizing lower health risks and prevent mold regrowth after water damage, helping you restore a safe living environment. Would you like to proceed to the next section,
Mold Prevention and Remediation
Mold growth is one of the most serious risks after water damage. Mold can start developing within 24 to 48 hours if moisture remains in your home. Preventing mold requires fast, thorough drying and ongoing monitoring.
Understanding the 24-48 Hour Window
Mold spores are everywhere, but they only become a problem when they find moisture to grow on. That is why drying any water-affected area promptly is critical. Delaying drying beyond two days greatly increases the risk of mold formation.
- Mold thrives in warm, humid, and damp conditions, commonly found in wet drywall, wood, carpets, and insulation.
- Early mold growth often appears as musty odors, discoloration, or fuzzy spots on surfaces.
- Quickly drying impacted areas and controlling indoor humidity can prevent most mold issues.
Mold Remediation Techniques
Treatment depends on mold extent and location. Small mold patches (less than 10 square feet) may be safely cleaned by homeowners using proper cleaners and protective gear.
- For larger mold infestations or contaminated water damage cases, professional mold remediation is necessary.
- Professionals use containment, HEPA air filtration, antimicrobial treatments, and removal of affected materials to ensure thorough decontamination.
- Post-remediation, long-term moisture control and monitoring are critical to prevent mold recurrence.
Preventing and addressing mold not only protects your health but also safeguards your investment by avoiding costly rebuilding caused by unchecked mold growth. Would you like to continue to the next section, Structural Repairs and Restoration?## Mold Prevention and Remediation
Mold growth is a critical concern following water damage, developing rapidly in moist environments. Preventing mold requires immediate attention and ongoing care to protect your home and health.
Professional vs. DIY Water Damage Repair
Choosing between DIY water damage repair and hiring professionals depends on the extent of the damage, your skills, budget, and safety concerns. Both approaches have pros and cons that affect time, cost, and outcome quality.
The table below summarizes key differences:
| Aspect | DIY Approach | Professional Service |
|---|---|---|
| Cost | $500 - $2,000 | $2,500 - $15,000+ |
| Time Required | 1 - 4 weeks | 3 - 10 days |
| Equipment Needed | Rent/purchase tools | Included in service |
| Expertise Level | Basic to intermediate | Certified specialists |
| Insurance Coverage | May not be covered | Usually covered |
| Warranty | None | Service guarantee |
When to Call Professionals
Water damage can range from minor spills to severe flooding that affects structural safety. Knowing when to call professionals is essential to protect your home, health, and finances.
Some situations clearly require expert intervention:
- Extensive or deep water damage. If water has saturated large areas, penetrated floors, walls, or ceilings, professionals have the tools and experience for effective extraction and drying.
- Contaminated water presence. Gray or black water, including sewage or floodwater, poses serious health risks and needs professional cleanup and disinfection.
- Visible mold growth or prolonged moisture. Mold can begin growing within 48 hours, and professional remediation is necessary to prevent health hazards and property damage.
- Structural or electrical concerns. Signs like sagging ceilings, swollen walls, or compromised wiring require immediate professional evaluation to avoid accidents.
- Complex HVAC or plumbing system involvement. Water damage affecting these systems needs skilled technicians for assessment and repair.
- Insurance requirements. Many insurance policies require professional assessment and documentation for claim approval to cover repair costs.
- Health and safety risks. Standing water, electrical hazards, and contaminated materials make professional handling the safest option.
In any of these cases, early professional involvement not only ensures thorough restoration but also reduces long-term repair costs and health risks. Taking quick, expert action is the best way to protect your home from permanent damage and return it to a safe, livable condition.
DIY Repair Limitations and Risks
Doing water damage repairs yourself might seem like a good way to save money, but it comes with several important risks and limitations.
- Hidden damage risk. Water often seeps into walls, under flooring, and inside insulation where it’s not visible. Without professional tools, hidden moisture may be missed, leading to mold and structural issues.
- Health hazards. Floodwater can contain bacteria, chemicals, and other contaminants. Lack of proper protective gear increases risks of infection or illness during cleanup.
- Electrical dangers. Damaged electrical systems pose risks of shock or fire. Professionals are trained to address these safely, while DIY efforts can be hazardous.
- Inadequate drying. Improper drying techniques trap moisture, encouraging mold growth and prolonged damage to materials.
- Structural issues. Water can weaken wood and drywall. Inexperience may lead to incomplete repairs, risking safety and higher future costs.
- Insurance complications. DIY repairs may not meet insurance company standards, potentially affecting claim approval and payout.
- Time and effort. Water damage restoration is labor-intensive, often taking longer than expected and requiring specialized knowledge and equipment.
Considering these factors, DIY repair is generally suitable only for very minor water damage with clean water. For anything beyond that, professional help is strongly advised to ensure complete, safe, and lasting restoration.
Taking Control of Water Damage Begins with Quick, Confident Steps
Water damage can turn your home upside down fast, but knowing the right steps to take can save your property and peace of mind. Protecting your home starts with acting immediately—shutting off water, ensuring safety, and carefully documenting damage for your insurance claim. Swift extraction and thorough drying stop water in its tracks and prevent mold from taking hold. While some small, clean water issues might be manageable on your own, most situations demand professional expertise to fully restore your home and safeguard your health.
Following a clear process for assessment, cleanup, and repair keeps problems from growing and ensures your home returns to a safe, livable place ready for the future. With this guide, you’re better equipped to face water damage head-on and come out ahead.
Ready to Restore Your Home?
Water damage can happen unexpectedly, but with the right help, you don’t have to face it alone. Pursuit Restoration is here to provide fast, expert care tailored to your home’s needs.
Don’t wait until the damage gets worse.
Schedule a service online today or call us at
(208) 515-6503 to learn more about how we can help you get your home back to normal quickly and safely.