Fire Damage Restoration Process: Step-by-Step Guide to Repair and Recovery
A fire can turn your life upside down in minutes. Long after the flames are gone, you’re often left facing smoke stains, water damage, and a home that feels unsafe. It’s overwhelming, and knowing what to do first can add even more stress.
The good news is that there’s a clear path forward.
The fire damage restoration process is a systematic way to repair your property, clean out harmful residues, and make your home safe again.
By walking through each stage step by step, you’ll understand how professionals restore a house to its pre-fire condition and where you may need help. This guide explains each phase of the process so you can move forward with confidence.
Key Takeaways
- Fire restoration involves several key steps, starting with safety checks and detailed damage inspections to make sure your home is safe to enter.
- Quick water removal and drying after firefighting help prevent mold and more damage, while smoke and soot cleanup uses special tools to clear residues and odors.
- Cleaning and sanitizing remove harmful chemicals and germs, getting your home ready for repairs and rebuilding damaged walls, floors, and more.
- Professionals are best for serious damage because they have the right tools, training, and insurance knowledge, while small cleanup jobs might be safe to do yourself.
- Acting fast and choosing the right help means your home can recover faster and safer, making the restoration process less overwhelming.
Step 1: Initial Damage Assessment and Fire Damage Inspection
Before stepping inside your property after a fire, safety is the top priority. Professionals work with licensed authorities to confirm the building is safe to enter, preventing risks like structural collapse or exposure to harmful substances.
Next, a detailed inspection checks the extent of fire, smoke damage, soot damage, and water damage throughout your home. This includes looking at the structure itself and your belongings. Everything is carefully documented with photos and videos. This documentation is critical for filing insurance claims and helps guide the full restoration plan.
Step 2: Securing the Property
After inspection, the property needs to be protected from further damage. Temporary measures include boarding up broken windows and doors and covering damaged roofs with tarps. These actions stop rain, wind, or animals from worsening the damage.
It's also important to seal off areas of the home that weren't affected by the fire. This prevents soot and smoke from spreading and contaminating clean spaces, making the cleanup more efficient and safe.
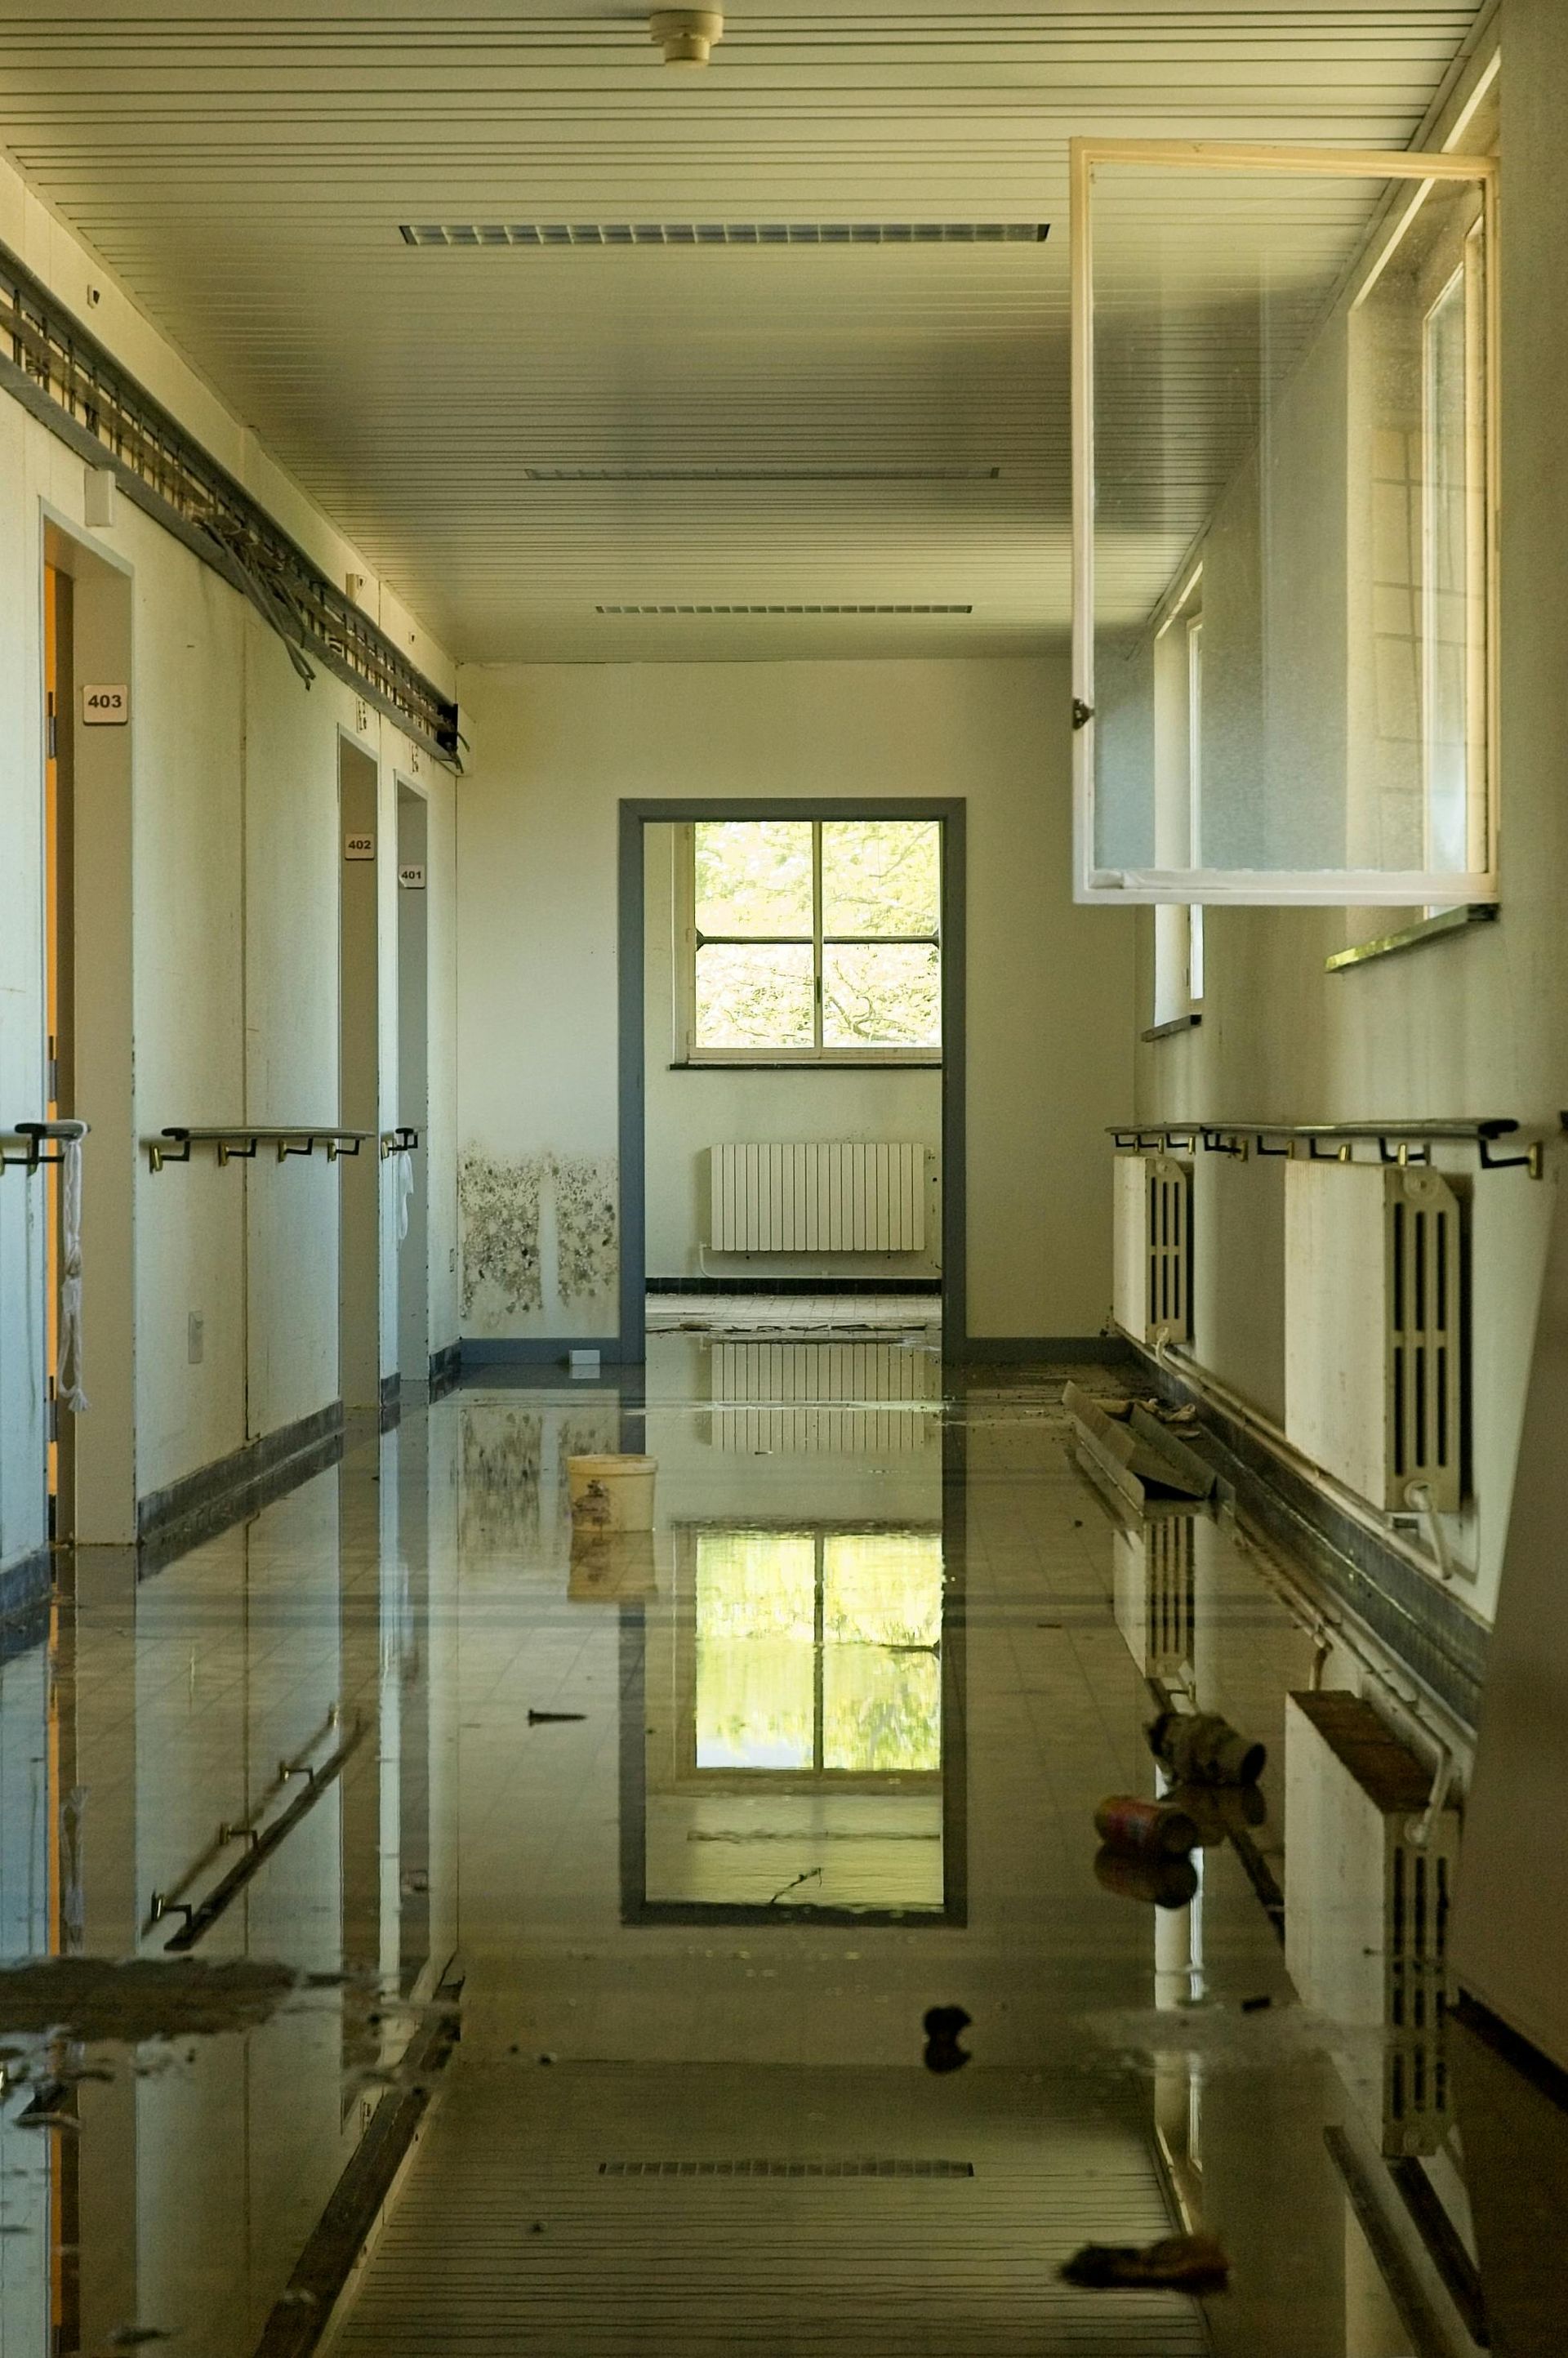
Step 3: Water Removal and Drying
Firefighting leaves behind large amounts of water that can cause additional problems if not removed quickly. Professionals use pumps and wet vacuums to extract standing water from floors and carpets.
After water removal, air movers and dehumidifiers dry out the structure thoroughly. This step is essential to prevent mold growth and further damage to walls, floors, and ceilings. Fast, efficient drying keeps the property safe and ready for the next restoration stages.
Step 4: Smoke and Soot Damage Cleanup
Smoke and soot cling to surfaces long after a fire is out. Cleaning these residues requires specialized equipment and techniques. Professionals use industrial vacuums, chemical sponges, and cleaners designed to remove soot without damaging surfaces.
Removing the lingering smoke odor is just as important. Treatments like thermal fogging, ozone, and activated charcoal help neutralize smells throughout the home. Duct cleaning is also necessary to clear smoke particles from HVAC systems, improving indoor air quality.
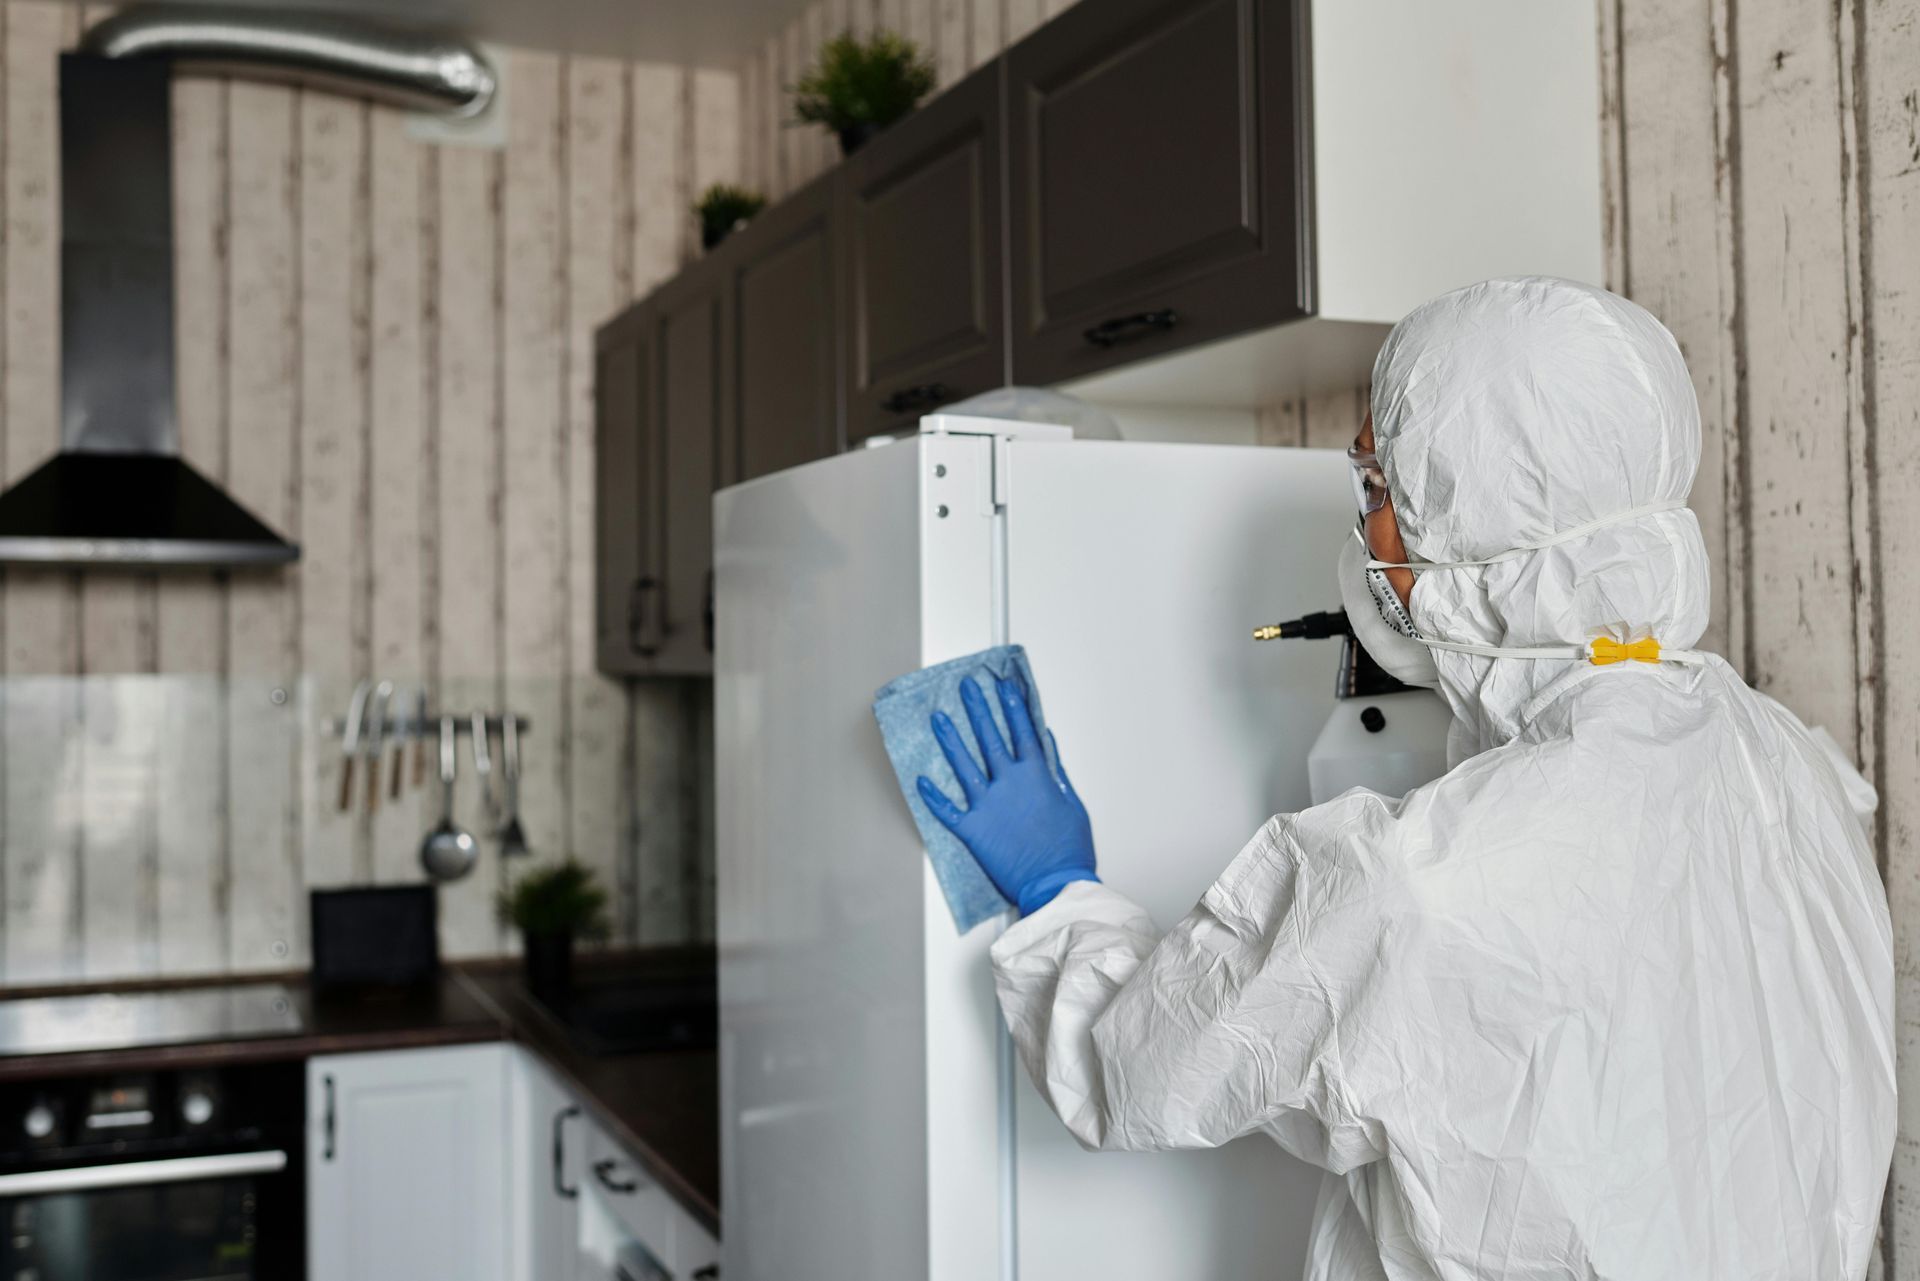
Step 5: Cleaning and Sanitation
After soot and smoke removal, thorough cleaning and sanitizing are essential to remove harmful chemicals and microbes. Every surface, from walls to furniture, is cleaned to ensure safety and health.
Unsalvageable materials are carefully disposed of, while items that can be saved are restored and cleaned professionally. This step helps prepare the property for reconstruction while minimizing health risks.
Step 6: Reconstruction and Restoration
The final phase focuses on repairing and rebuilding the damaged areas of your property. This includes replacing drywall, flooring, roofing, and making necessary electrical and plumbing repairs.
Interior finishes like painting and fixture replacement restore your home’s look and function. Personal belongings affected by the fire are either cleaned or replaced, completing the restoration process and making your home livable again.
When to Hire Professionals vs. DIY
Deciding whether to hire fire damage restoration professionals or handle some tasks yourself depends on the extent of the damage and your comfort level with the risks involved.
When to Hire Professionals
Professional help is crucial when fire damage poses safety risks or requires specialized skills and equipment. Here are situations where experts should take charge:
- Fire damage often leaves behind hazardous residues, including toxic soot and chemicals, that require specialized cleaning methods.
- Structural damage can make a property unsafe to enter or work in without proper training and equipment.
- Water left from firefighting efforts can cause mold growth and further damage if not thoroughly removed and dried.
- Professionals have access to industrial-grade tools and techniques like thermal fogging and duct cleaning to remove smoke odors and residues fully.
- Insurance claims and documentation are complex; restoration experts can provide proper inspection reports and work with your insurer.
- Health risks from microbes and chemical contamination call for expert sanitization beyond typical household cleaning.
When to Consider DIY
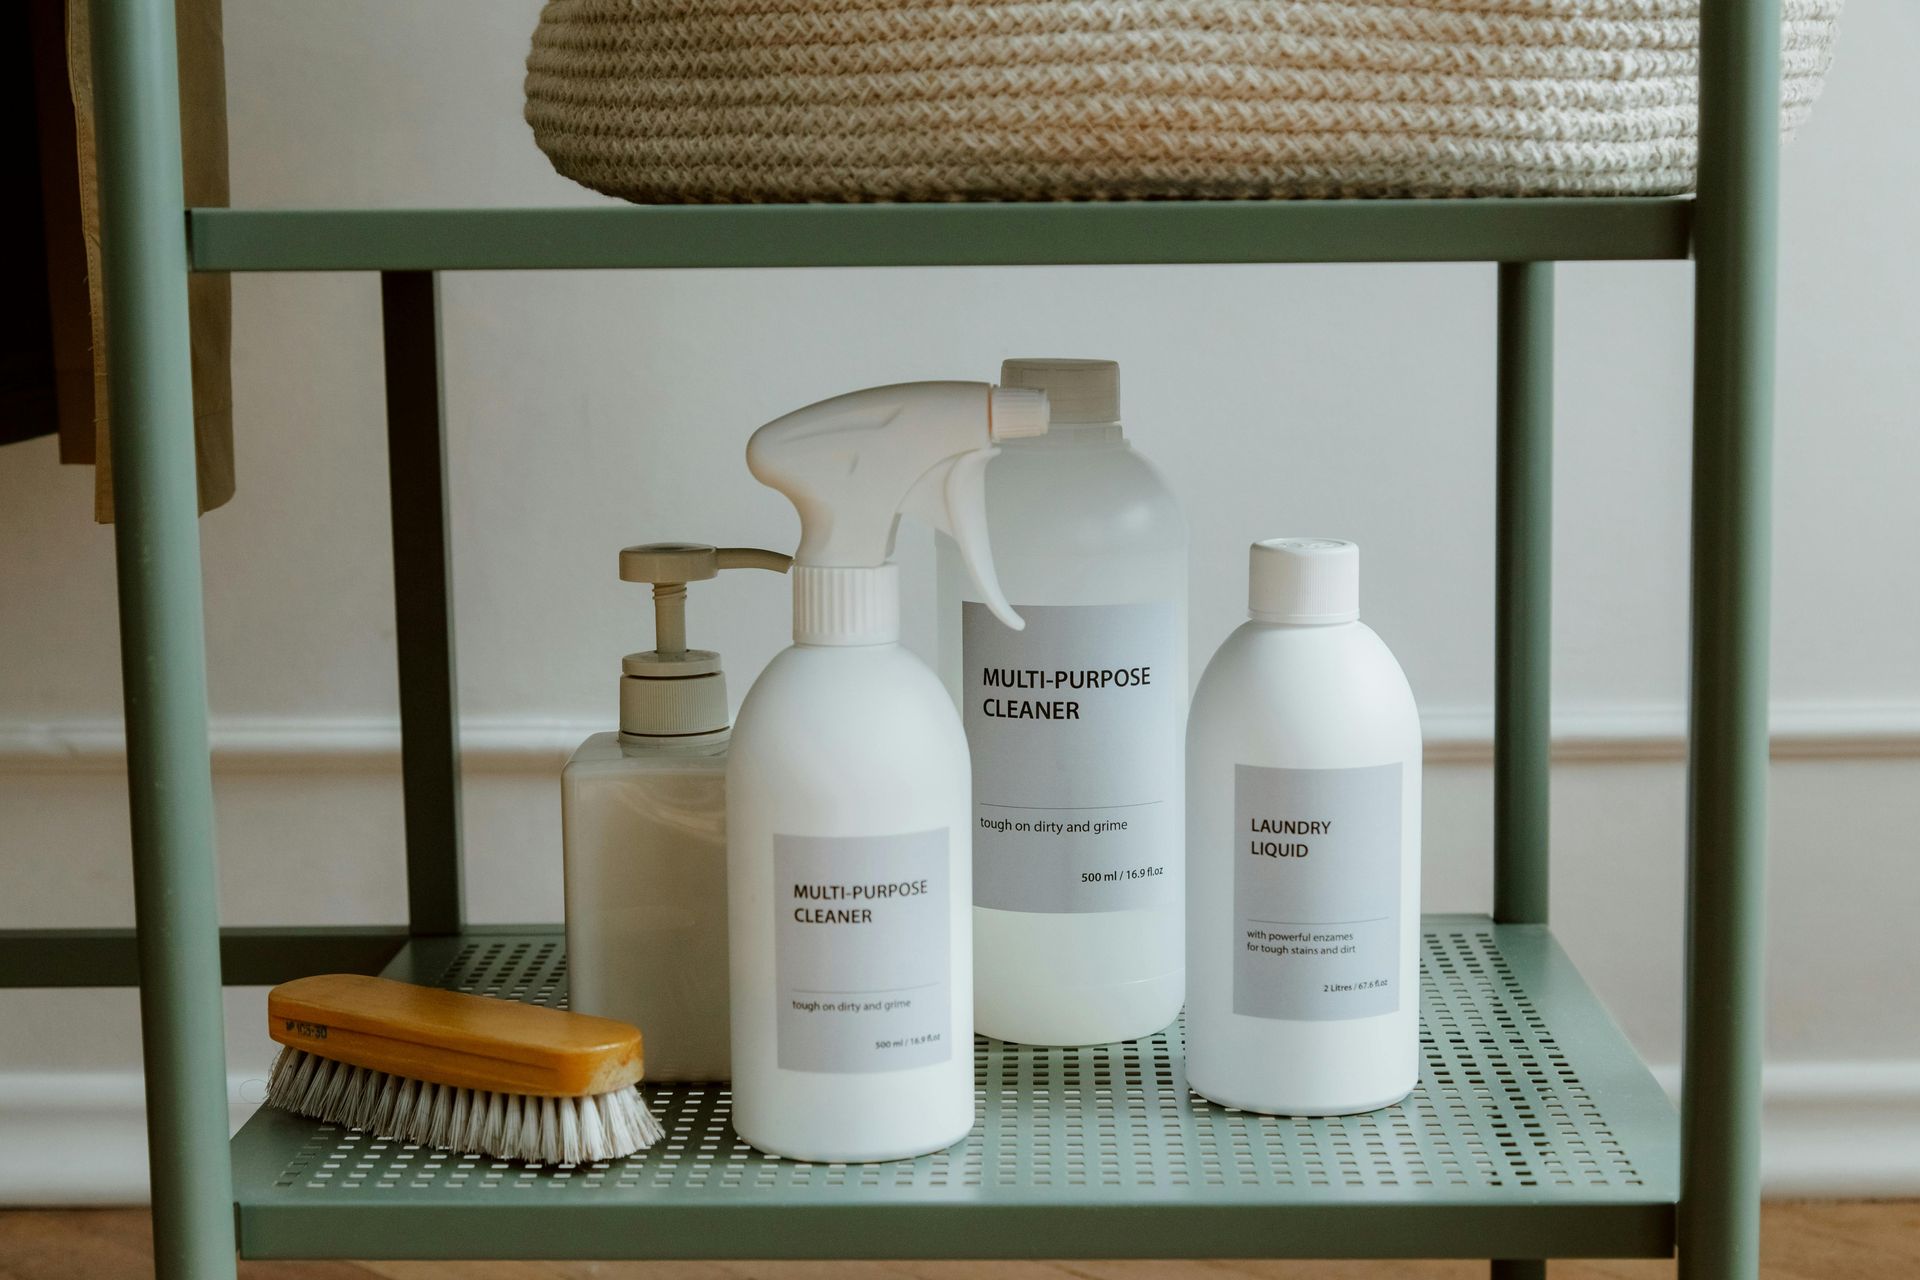
For smaller, less risky tasks, homeowners can safely handle some cleanup with the right precautions. Here are cases where DIY might be practical:
- Minor smoke stains on non-porous surfaces that do not require specialized chemicals.
- Small areas with limited soot, easily cleaned with household vacuums and cleaning agents.
- Non-structural water drying in areas where there is no risk of mold or electrical hazards.
- When professional restoration costs outweigh the damage severity, but safety is not compromised.
- Homeowners confident in following safety protocols and who understand the limitations of DIY methods.
Here’s a quick comparison between the two
| Aspect | Professionals | DIY |
|---|---|---|
| Safety | Trained to handle hazardous materials | Limited knowledge, higher risk |
| Tools and Equipment | Industrial-grade, specialized tools | Household tools only |
| Damage Assessment | Comprehensive and detailed | Basic, visual inspection |
| Fire, Smoke, Soot Removal | Advanced cleaning and odor removal | Limited to surface cleaning |
| Water Extraction and Drying | Fast, thorough with professional gear | Slower, less effective |
| Structural Repairs | Licensed contractors and expert repair | Usually not feasible or safe |
| Insurance Documentation | Provides thorough reports and support | Limited and informal |
| Cost | Higher upfront cost | Lower cost but riskier outcome |
This table highlights when professional services are necessary for safety and quality, and when DIY efforts might be feasible for smaller issues.
Key Points for Successful Fire Damage Restoration
Fire damage restoration is a careful process that moves from safety checks and damage assessment to cleanup and full reconstruction. Each step is important to protect your property, remove harmful residues, and make your home livable again.
Taking timely action and choosing professional services when needed ensures the best results. Whether handling minor cleanup yourself or relying on experts for major repairs, prioritizing safety and thorough cleaning will help you recover with confidence.
Get Your Home Back to Normal with Pursuit Restoration
Don’t let fire damage keep you from feeling safe and comfortable in your home. Pursuit Restoration is ready to guide you through every step of the restoration process with expert care and reliable service.
Schedule a service online or call
(208) 515-6503 to learn more about how we can help you recover quickly and safely.